Buying seeds doesn’t break the bank, and the harvests you get more than justify the initial outlay, but there’s still something infinitely satisfying about saving and sowing your own seeds. In this article, we’ll talk about the best ways for home gardeners to collect and store seeds for their next growing season. It’s not rocket science, but like all things gardening-related, it makes sense to benefit from others’ experience before taking the plunge!
What to Save and What to Expect
The first question you need to ask yourself is whether you can expect the same or similar results you got the first time round when you sow the next generation of seeds.
To clarify: some plants are highly hybridised. They’re pollinated under controlled conditions to achieve a predictable result. When the genes recombine under natural conditions, you don’t get the performance you got from the first generation. That’s not to say you shouldn’t collect seeds from these hybrids, but you should be aware that genetic variability may mean unpredictable results.
Some varieties, on the other hand, are “open pollinated.” Simply put, the seed producers grow them in open fields and let nature take its course. For you, this means the ability to harvest seeds from your plants and expect similar results from the plants you’ll grow.
Having said that, heirloom and open pollinated varieties can cross-pollinate with their neighbours, and that could mean that your succeeding generation differs from the last one. If you hope to keep your varieties true-to-type, plant them far away from their cousins and cover them with insect-proof netting. This may mean you have to do some hand pollinating. In the Seeds of Plenty patch, for example, we shake our tomato plants to encourage self-pollination.
Choose the Best
Choosing your mother plants is a big decision. They should be the healthiest plants and they should exhibit all the characteristics you want in the next generation. This principle of selection has been practised since the earliest days of agriculture, and it still matters. It’s why we have such productive food crops today.
Ancestral forms of wheat, for example, don’t produce as many kernels and have smaller kernels than domesticated wheat. When choosing which seeds to save, early farmers would have chosen parent plants that produced larger-than-average kernels. You’ll be applying the same principle.
Harvesting and Cleaning Seeds
Seeds should be allowed to mature for as long as possible on the parent plant. That means choosing ripe fruits or allowing seeds to develop until just before natural dispersal would occur.
Sometimes, you’ll need to pick dried flower heads or pods that haven’t released their seeds yet so that you can be sure of catching them in time. Place them in a warm, dry place, either spread out on newspaper, or in paper (never plastic) bags while they dry and release their seeds.
With fleshy fruits, you’ll need to extract the seeds from the pulp and dry them before storage. It’s often easier than you might think. Mashed up fruit pulp placed in water for a day or two often separates itself quite nicely, with viable seeds sinking to the bottom and infertile seeds and pulp floating to the top. However, do remember that some additional treatments may be required to ensure success. For example, tomatoes require fermentation and will need an extra couple of days in the water and pulp solution to get rid of the little gel sacs that enclose them.
Storing Seeds
Most vegetable crop seeds don’t have a very long storage life. The sooner you can sow them, the better, but you may have to wait for a favourable season, so storage becomes a must.
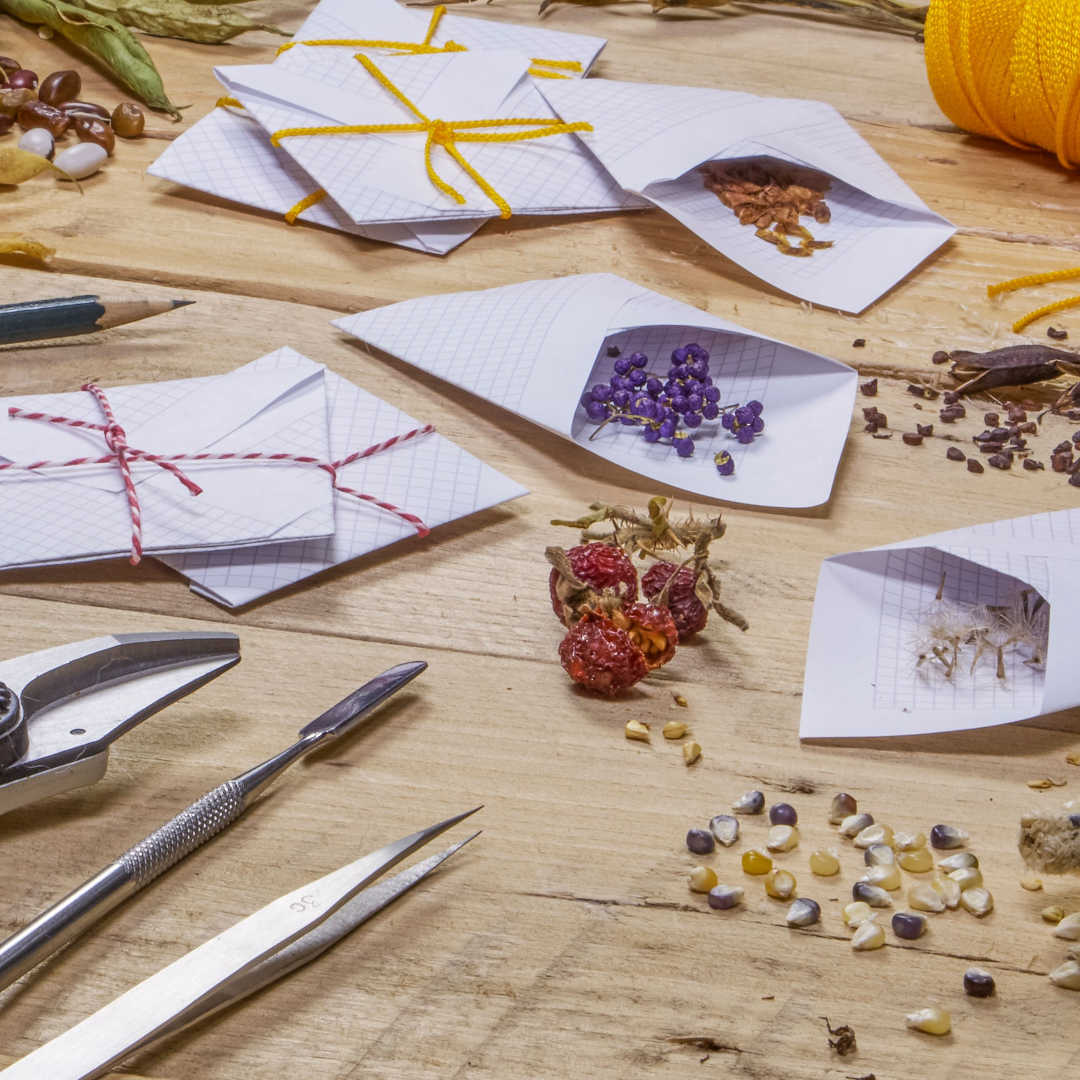
To preserve viability, seeds need to be kept in dry conditions. Plastic containers aren’t very good for storing seeds because they tend to sweat. Glass bottles are better, but if you seal the lids, you may get condensation. I do use them, but only when I’m absolutely sure that the material is dry. The easiest solution is to store your seeds in paper envelopes and then keep them in a cool, dark place. You can also bottle up your seed envelopes, the paper will help to keep them dry if there’s a teeny bit of condensation.
I don’t store seeds in the fridge unless they need cold treatment in order to germinate, but if you have the fridge space and can seal your containers well, it could extend the time in which your seeds remain viable. Obviously, tropical species won’t generally like this, so if you want to do it, be sure to check what kind of climate your seeds are geared for.
It’s easy to get muddled when you’re storing seeds, so label each container with the plant’s name and the date. While you’re at it, diarize the sowing dates – you don’t want to miss out on sowing them!